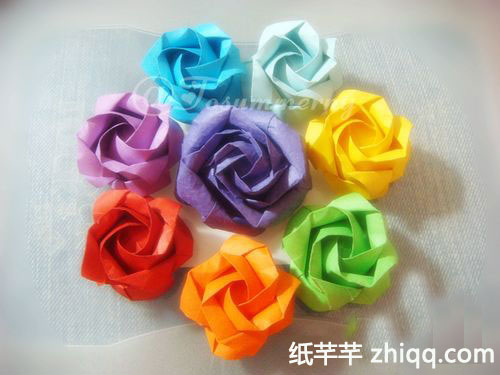
折一束纸玫瑰
给你的恋人吧,告诉TA,你有多珍惜这份缘;
折一束纸玫瑰给你的伴侣吧,告诉TA,最幸福的事是与TA执手相伴终老;
也许你们会争吵,也许你们会埋怨,
但请记住,美好的回忆永远是千灾百难的人生最好的慰籍。
所需材料:一张正方形纸,见图1
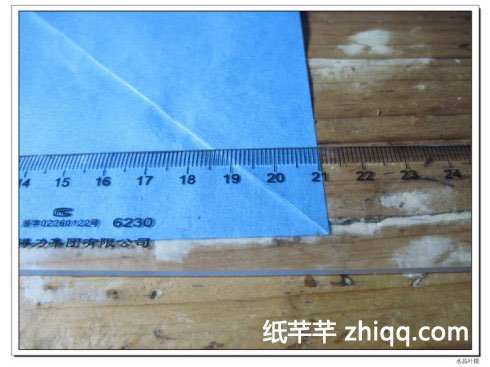
提示1:方纸边长以20cm至22cm之间为宜,见图2;
提示2:对于初学者,方纸不宜过软,以A4打印纸的硬度为宜。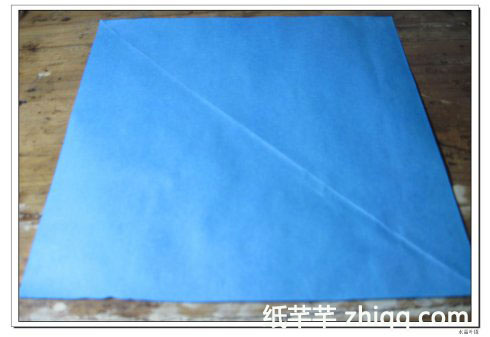
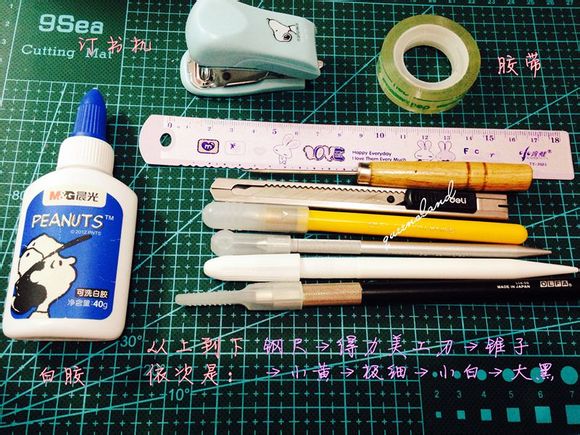
辅助工具:彩笔、镊子、钢尺,见图3
[caption id="attachment_2237" align="alignnone" width="490"]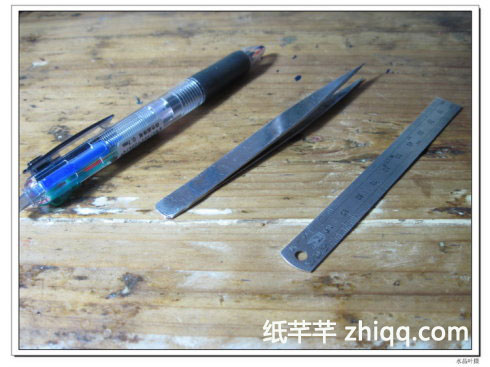
图3[/caption]
步骤过程:
第一部分:折线(16+16条斜线)
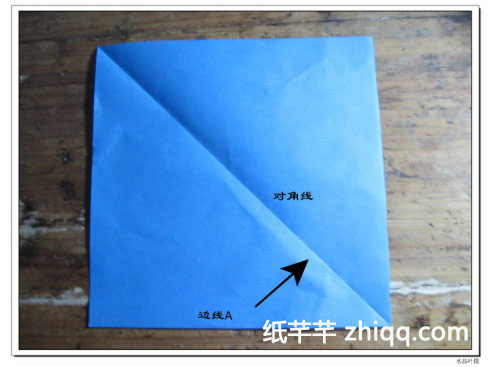
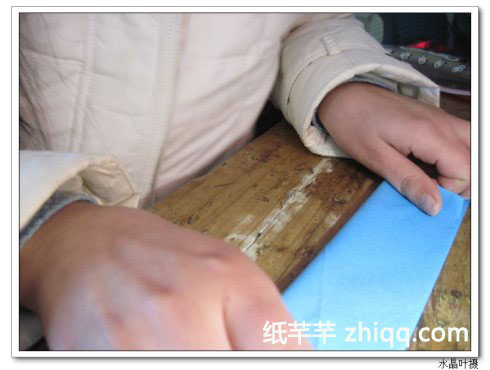
步骤1:将方纸按对角线对折,见图4,完成后情况见图5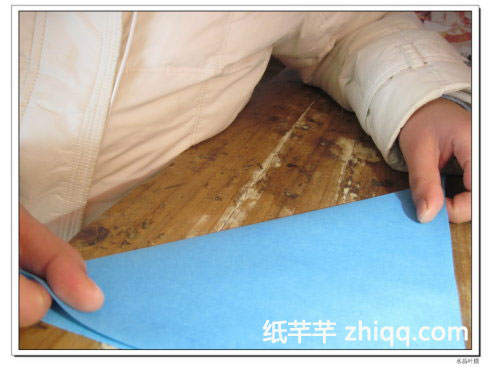

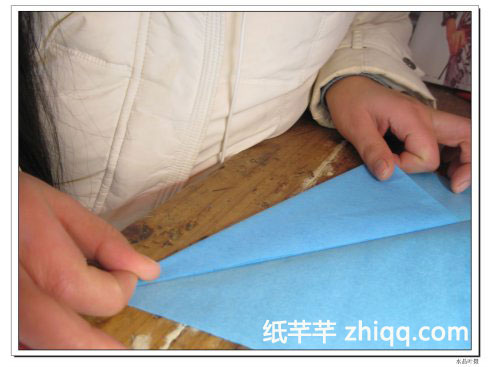
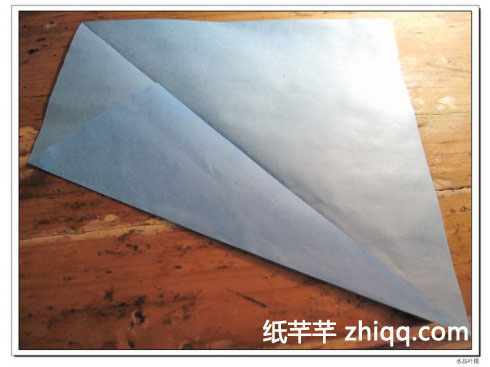
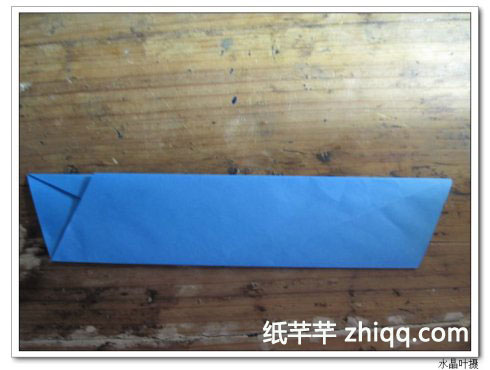
步骤2:将方纸的一条边线与对角线重合,见图6、图7,完成后情况,见图8。
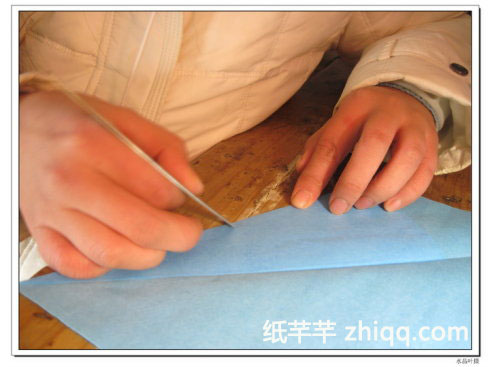
提示:折纸玫瑰的折线非常关键,折的好坏直接与后期步骤和玫瑰成型,所以可以借助钢尺或其他工具重压,使折痕更明显,见图9。
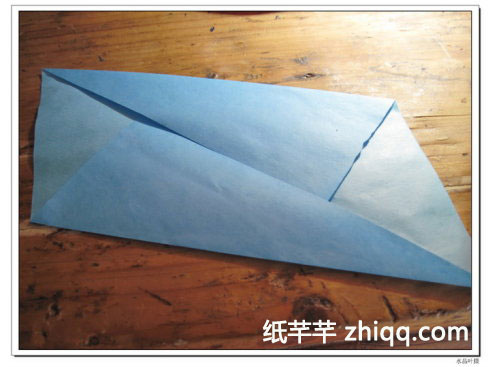
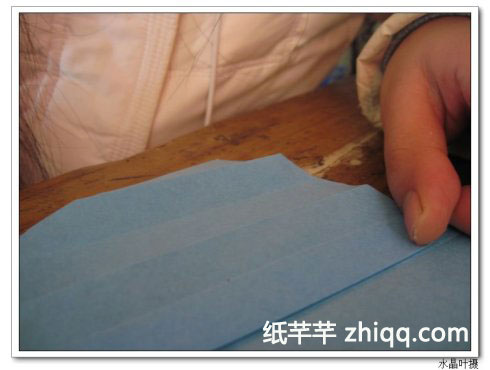
步骤3:将另一条边线也与对角线重合,见图10,完成后情况,见图11。
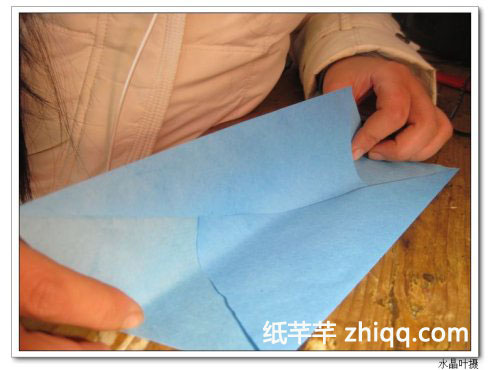
步骤4:将如图11所示的折纸旋转一定角度,使其边线成水平状,如图12所示,再按图所示的中线对折,见图13、图14,完成后情况见图15;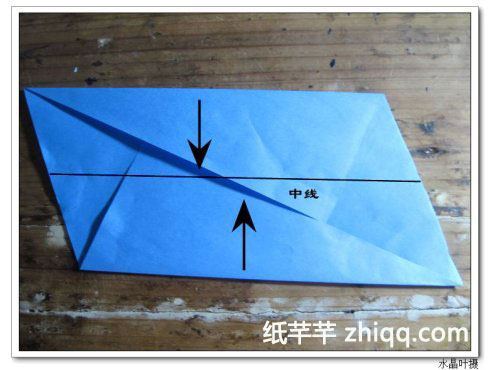
步骤5:将如图15所示的折纸展开两次,见图16,这时,折纸因折痕除两角外共分成4部分;
步骤6:将四等分折成八等分,即相邻的折线对折,见图17,图18,完成后情况见图19;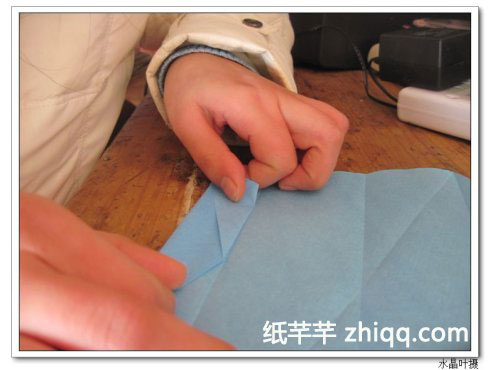
[caption id="attachment_2253" align="alignnone" width="490"]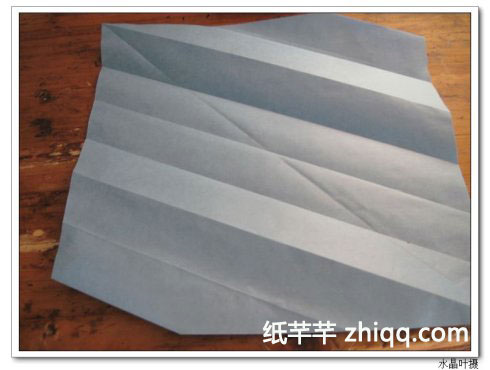
图19[/caption]
步骤7:再将图19所示八部分折成十六部分,与步骤6类似,即将相邻的折线对折,见图20,完成后情况见图21;
[caption id="attachment_2254" align="alignnone" width="490"]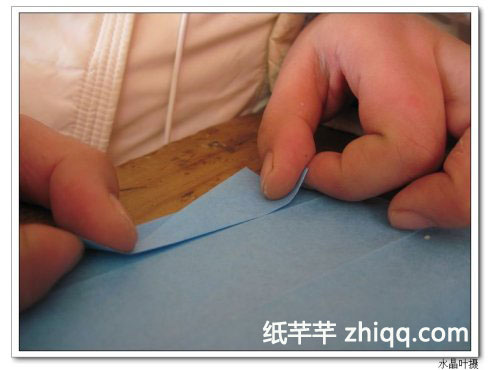
图20[/caption]
[caption id="attachment_2255" align="alignnone" width="490"]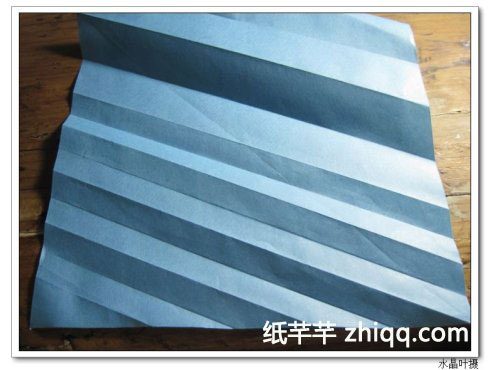
图21[/caption]
(注:此图完成一半,上半部分同样需要对折)
步骤8:折出另一条对角线,并重复步骤2至步骤7的过程,见图22至图33再次重温一下上述步骤;
[caption id="attachment_2256" align="alignnone" width="490"]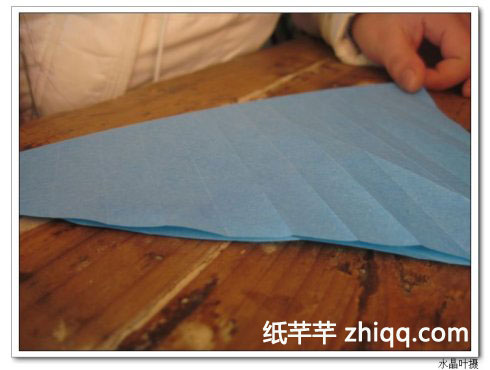
图22[/caption]
(注:步骤8-1折对角线,完成情况见下图23)
[caption id="attachment_2257" align="alignnone" width="490"]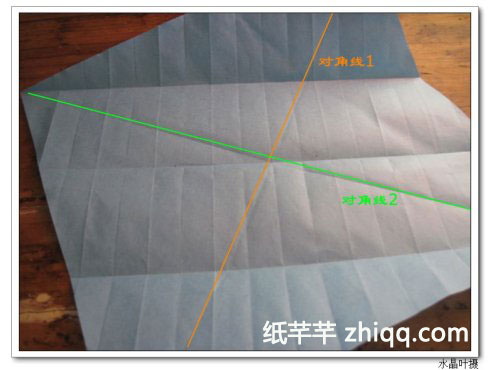
图23[/caption]
(注:黄色对角线1为原先老折痕,绿色对角线2为新折痕)
[caption id="attachment_2258" align="alignnone" width="490"]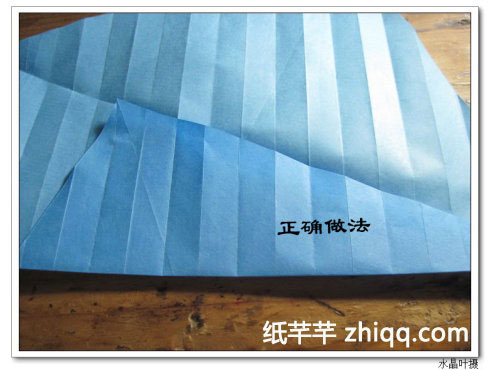
图24[/caption]
(注:步骤8-2边线与对角线2重叠)
[caption id="attachment_2259" align="alignnone" width="490"]
图25[/caption]
(注:纠错8-2时需注意的是,正面折痕与反面折痕仍处于同一条水平线上,见图24,而图25为错误做法,即使用错误边线与对角线重合)
[caption id="attachment_2260" align="alignnone" width="490"]
图26[/caption]
(注:步骤8-3另一条边线与对角线重合[caption id="attachment_2261" align="alignnone" width="490"]
图27[/caption]
(注:步骤8-4按照中线对折[caption id="attachment_2262" align="alignnone" width="490"]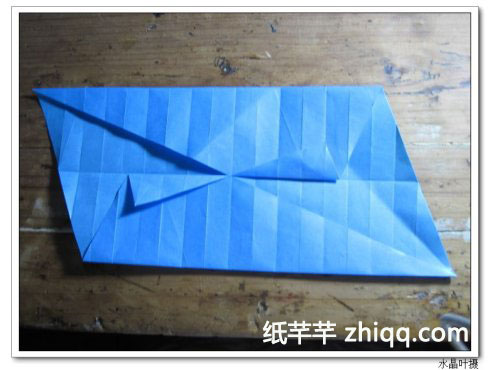
图28[/caption]
(注:步骤8-5一次展开[caption id="attachment_2263" align="alignnone" width="490"]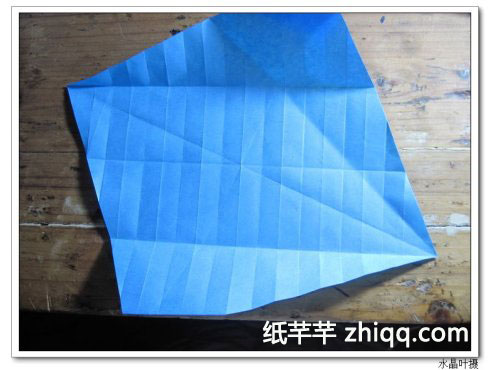
图29[/caption]
(注:步骤8-6二次展开,可以看见等分的四部分)
[caption id="attachment_2264" align="alignnone" width="490"]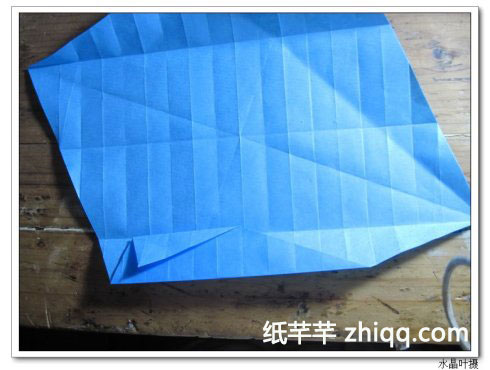
图30[/caption]
(注:步骤8-7相邻折线对折,由四等分变成八等分图31)
[caption id="attachment_2265" align="alignnone" width="490"]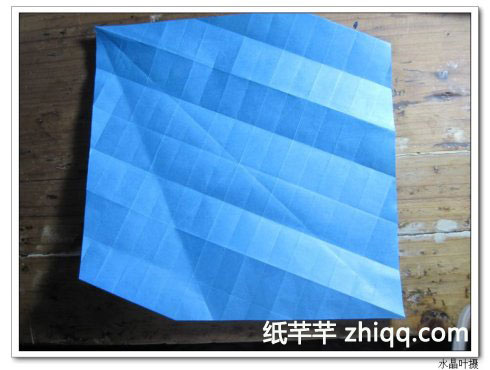
图31[/caption]
(注:步骤8-7完成后情况)
[caption id="attachment_2266" align="alignnone" width="490"]
图32[/caption]
(注:步骤8-相邻折线对折,由八等分变成十六等分,完成后情况见图33)
[caption id="attachment_2267" align="alignnone" width="490"]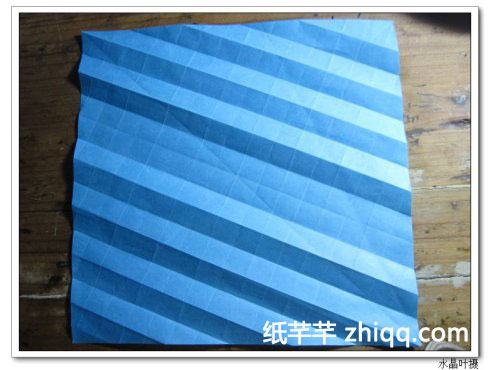
图33[/caption]
(注:步骤8最后完成情况,即各有16条斜线,且32条斜线将方纸分成每行数目各不相等的小方格。)
以上为第一部分,不是很难吧?
接下来,我们进行第二部分(3*3方格)
步骤9:请将折纸按图34摆放(注意斜线的方向),我用红色圆珠笔标出对角线,以黑色标线为轴心反折,见图35。黑色标线为16条斜线中的一条,它的一端起点为方纸的顶点,完成情况见图36;
[caption id="attachment_2268" align="alignnone" width="490"]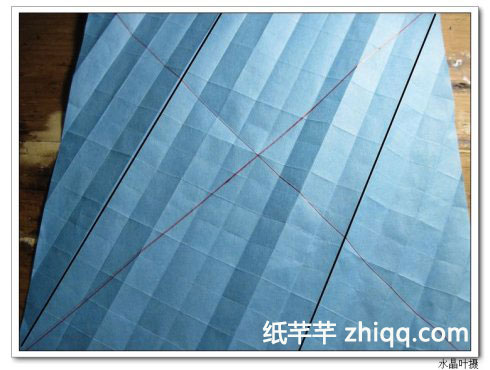
图34[/caption]
[caption id="attachment_2269" align="alignnone" width="490"]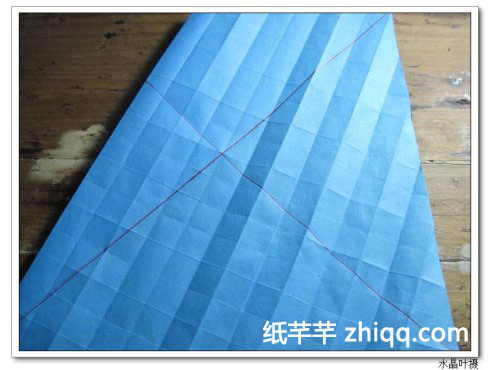
图35[/caption]
[caption id="attachment_2270" align="alignnone" width="490"]
图36[/caption]
[caption id="attachment_2271" align="alignnone" width="455"]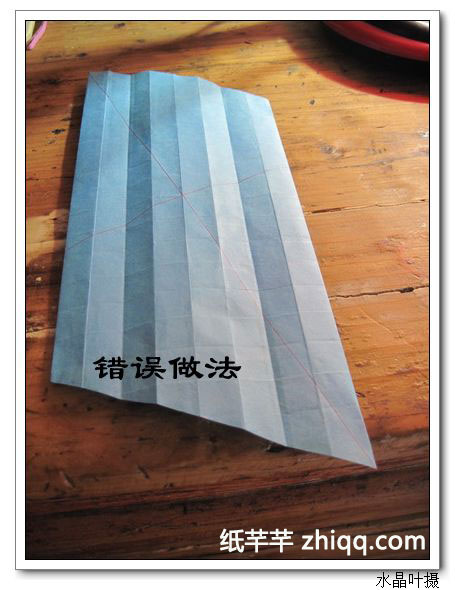
图37[/caption]
(纠错:请比较图36和图37,红色对角线的位置和方向,如果折纸过程中发现图37的情况,只要将纸翻个面重做步骤10即可)
步骤11:按照图38所示,在与中线平行上两行线为轴线,将上部折纸翻下来,见图39,图40,完成情况见图41,图42为纠错,请仔细与图41比较;
[caption id="attachment_2272" align="alignnone" width="490"]
图38[/caption]
[caption id="attachment_2273" align="alignnone" width="490"]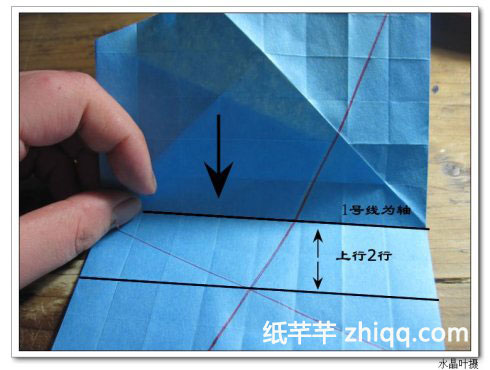
图39[/caption]
[caption id="attachment_2274" align="alignnone" width="490"]
图40[/caption]
[caption id="attachment_2275" align="alignnone" width="490"]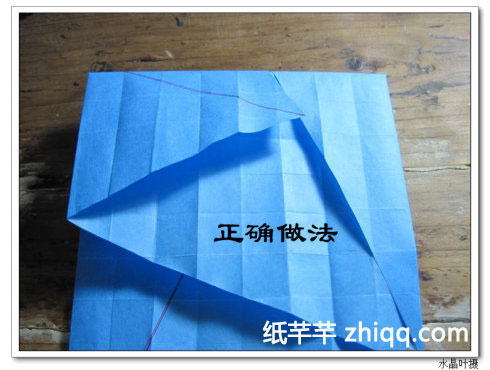
图41[/caption]
[caption id="attachment_2276" align="alignnone" width="490"]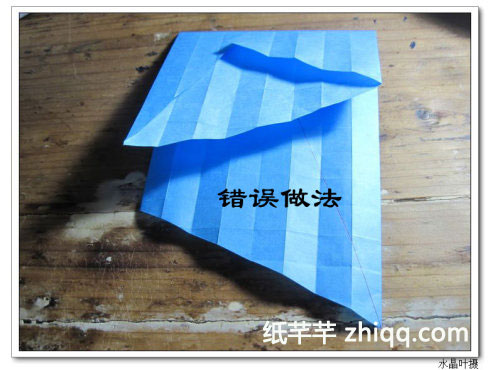
图42[/caption]
(纠错:可以发现图41和图42是相反的,如发现图42的情况,是因其图37的错误做法而来,所以翻个面重来即可)
步骤12:按照图43所示,将左边线与上边线重叠,折边线,然后展开见图44,图45,完成后情况见图46;
[caption id="attachment_2277" align="alignnone" width="490"]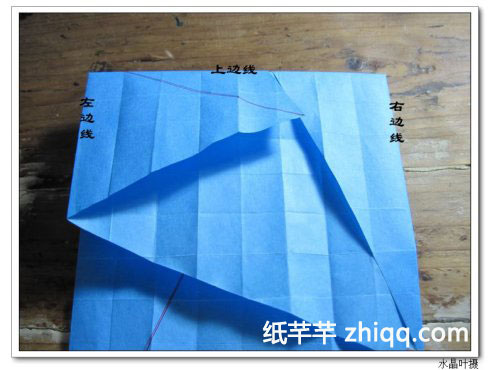
图43[/caption]
[caption id="attachment_2278" align="alignnone" width="490"]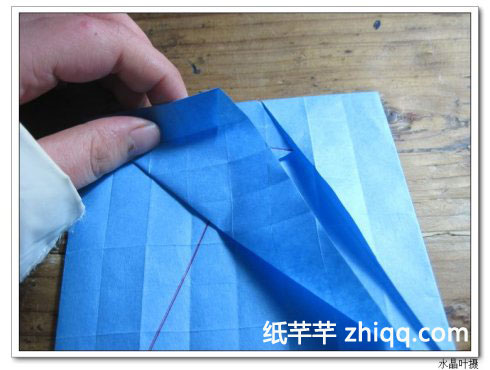
图44[/caption]
[caption id="attachment_2279" align="alignnone" width="490"]
图45[/caption]
[caption id="attachment_2280" align="alignnone" width="490"]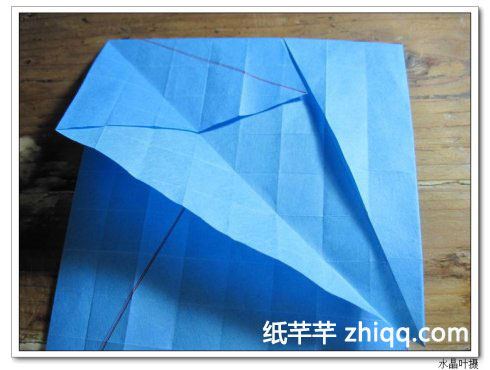
图46[/caption]
步骤13:按照图43所示,将右边线与上边线重叠,折边线,然后展开见图47,图48,完成后情况见图49;
[caption id="attachment_2281" align="alignnone" width="490"]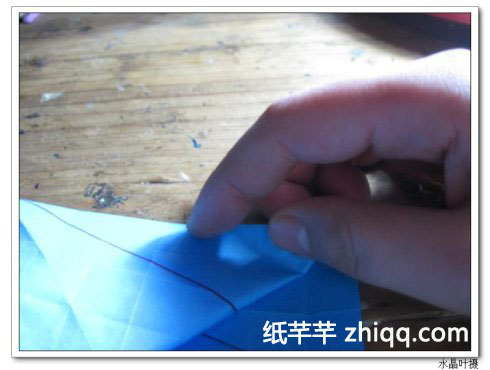
图47[/caption]
[caption id="attachment_2282" align="alignnone" width="490"]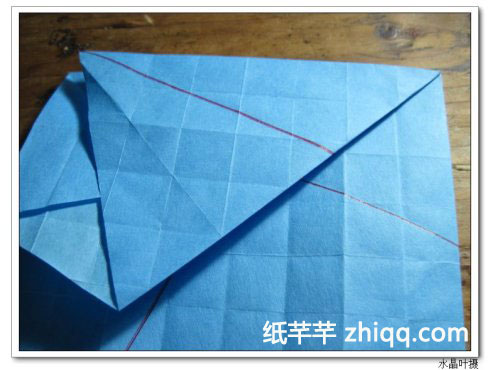
图48[/caption]
[caption id="attachment_2283" align="alignnone" width="490"]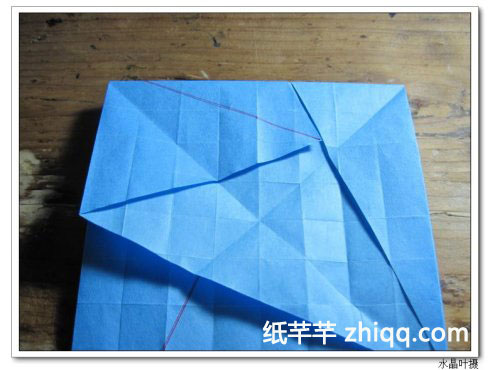
图49[/caption]
步骤14:按照图38所示,在与中线平行下两行线为轴线,将下部折线翻上来,见图50,完成后情况见图51;
[caption id="attachment_2284" align="alignnone" width="490"]
图50[/caption]
[caption id="attachment_2285" align="alignnone" width="490"]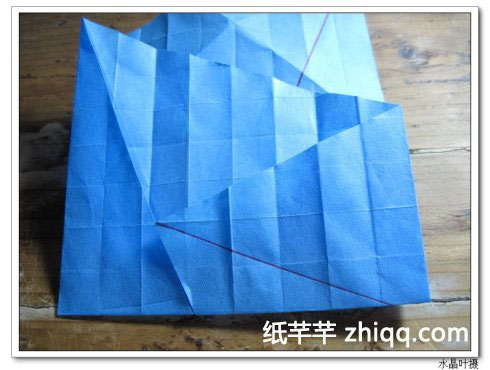
图51[/caption]
步骤16:按照图52所示,重复步骤13和步骤14,见图53,图54,完成情况见图55;
[caption id="attachment_2286" align="alignnone" width="490"]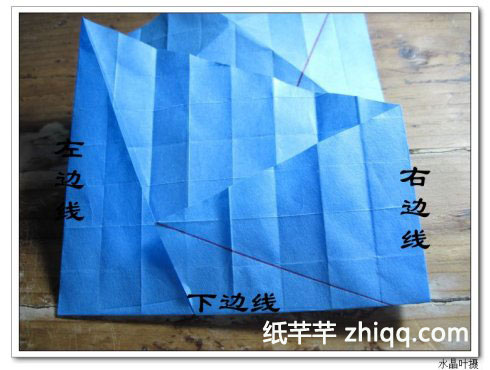
图52[/caption]
[caption id="attachment_2287" align="alignnone" width="490"]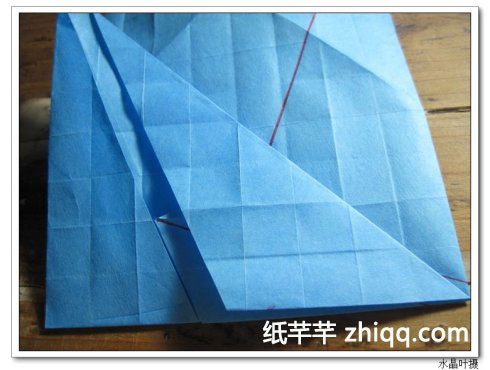
图53[/caption]
[caption id="attachment_2288" align="alignnone" width="490"]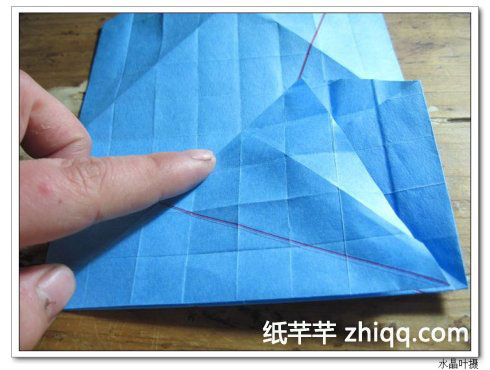
图54[/caption]
[caption id="attachment_2289" align="alignnone" width="490"]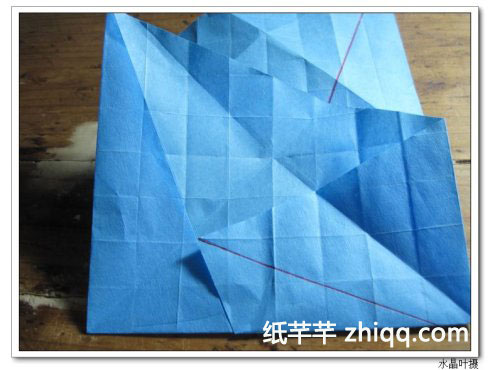
图55[/caption]
步骤17:将折纸摊开,会有8条折痕(用黑线标出),见图56,沿着黑线的延长线下折,见图57,完成后会有3*3大方格,见图58。
[caption id="attachment_2290" align="alignnone" width="490"]
图56[/caption]
[caption id="attachment_2291" align="alignnone" width="490"]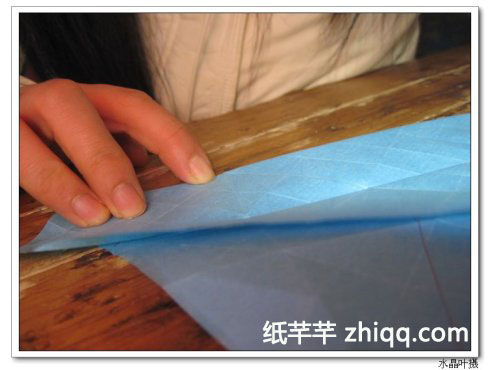
图57[/caption]
[caption id="attachment_2292" align="alignnone" width="490"]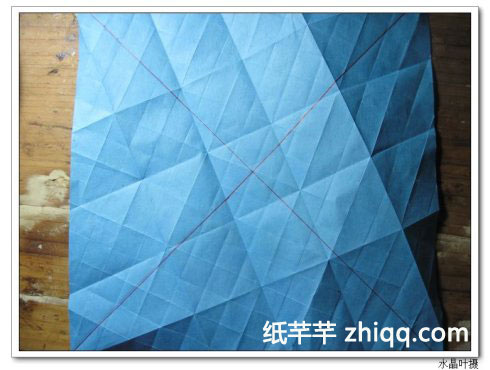
图58[/caption]
第三部分:不规则四边形折痕
步骤18:如图59所示,我用绿色圆珠笔在折纸划出2*2个方格,请记住这2*2方格,这对后续步骤非常关键。
[caption id="attachment_2293" align="alignnone" width="490"]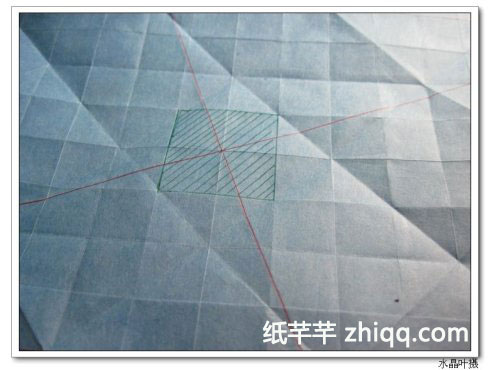
图59[/caption]
步骤19:用彩笔标出不规则四边形的方位,见图60。
说明:X轴和Y轴分别是过中点且相互垂直的16+16条斜线中的两条线;
O点为中点;
A点:即沿着O点先下移一个方格,然后再向右平移5个方格,按照坐标来表示的话就是(5,-1);
B点:即沿着O点先上移一个方格,然后再向右平移8个方格,按照坐标来表示是(8,1)
C点:即沿着O点先下移三个方格,然后再右移6个方格,按照坐标来表示是(6,-3)
D点:很特殊,请注意看图。即沿着O点先下移(一又三分之一)个方格,然后再右移(五又三分之二)个方格,按照坐标来表示是(17/3,-4/3)
提示:连接CD点的表现其实是方格的对角线。
[caption id="attachment_2294" align="alignnone" width="490"]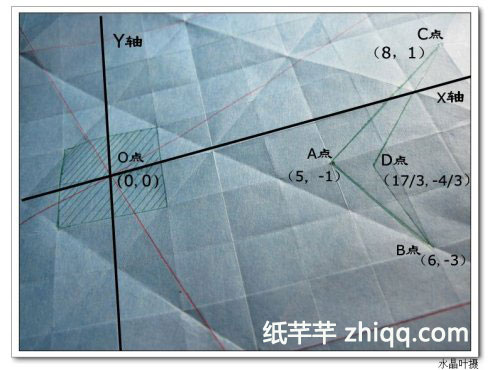
图60[/caption]
步骤20:再将其他三个不规则四边形标出,见图61,完成情况见图62;
提示:标出不规则四边形适合初学者,如果熟悉了,知道具体点位,直接折即可,可以省略此步骤。
[caption id="attachment_2295" align="alignnone" width="490"]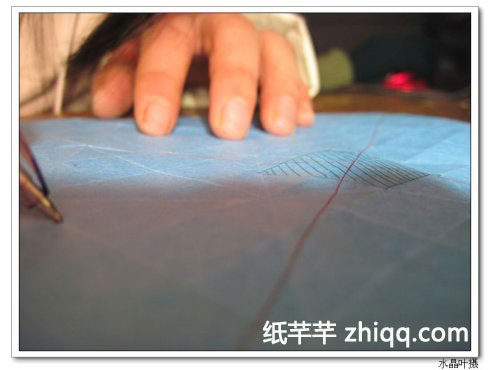
图61[/caption]
[caption id="attachment_2296" align="alignnone" width="490"]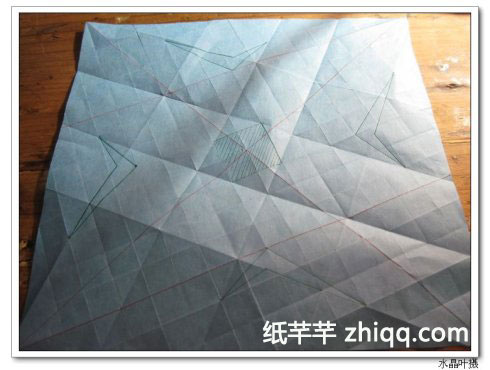
图62[/caption]
步骤21:沿着不规则四边形标线折纸,其中AB和AC正折,CD和BD反折,见图63,64,完成后情况见图65、66、67。
提示:此步骤是为后续步骤作准备
[caption id="attachment_2297" align="alignnone" width="490"]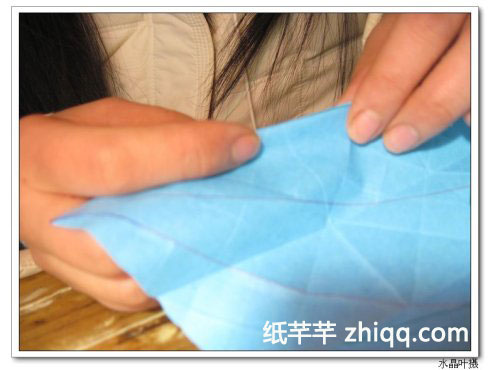
图63[/caption]
[caption id="attachment_2298" align="alignnone" width="490"]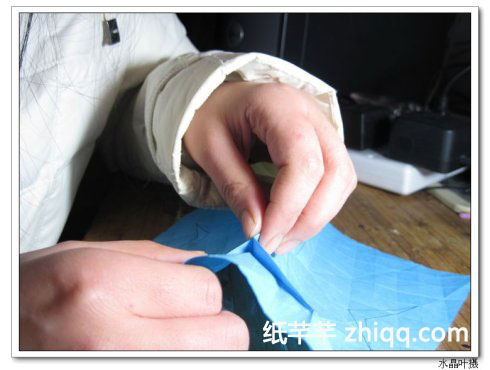
图64[/caption]
[caption id="attachment_2299" align="alignnone" width="490"]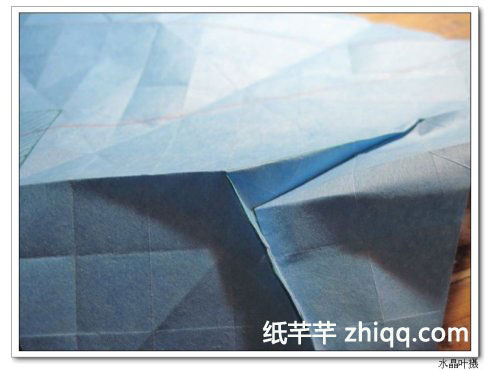
图65[/caption]
[caption id="attachment_2300" align="alignnone" width="490"]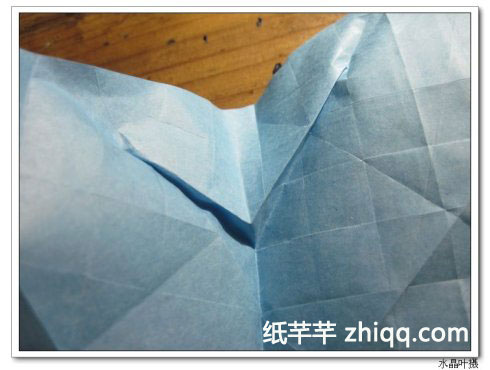
图66[/caption]
[caption id="attachment_2301" align="alignnone" width="490"]
图67[/caption]
第四部分6*6方格
步骤22,将折纸摊平,见图68,原是3*3大方格(即横竖各四条折线),将相邻两条折线对折,见图69,即横竖线各折三次,完成情况见图70,可以发现原先3*3个方格成为6*6个小方格;
[caption id="attachment_2302" align="alignnone" width="490"]
图68[/caption]
[caption id="attachment_2303" align="alignnone" width="490"]
图69[/caption]
[caption id="attachment_2304" align="alignnone" width="490"]
图70[/caption]
以上步骤为所有折线部分,是最基础部分,对于初学者来说,折线一定要被重压,使折痕明显。
第五部分花瓣组合
现在我们开始将折纸组合起来,出现花瓣的雏形。
步骤23:按照图72,将黑色标线再次正折,红色标线反折,见图73,这是为后续步骤铺垫;
其中,黑线是经过正中绿色方格(见图60)的边线
[caption id="attachment_2305" align="alignnone" width="490"]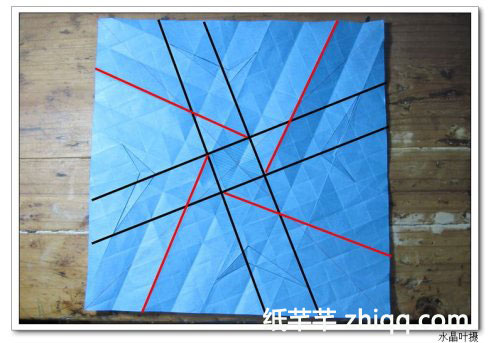
图72[/caption]
[caption id="attachment_2306" align="alignnone" width="490"]
图73[/caption]
步骤24:以绿色方格为中心将黑线折起来,并同时使红线凹下去,四面均如此,见图74,图75,完成情况见图76,其中上凸的线为图72中的黑线,而下凹的线则为红线;
[caption id="attachment_2307" align="alignnone" width="490"]
图74[/caption]
[caption id="attachment_2308" align="alignnone" width="490"]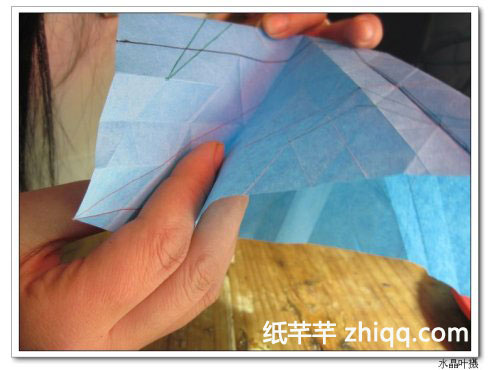
图75[/caption]
[caption id="attachment_2309" align="alignnone" width="490"]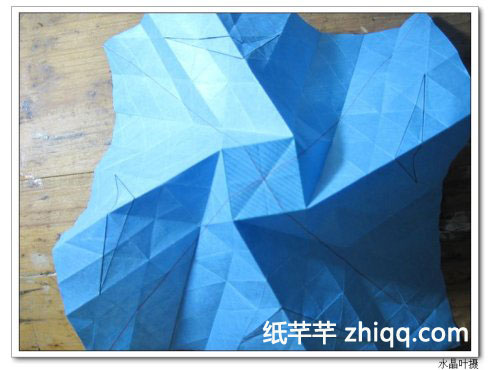
图76[/caption]
步骤25:以绿色方格为中心,将上凸的四条线慢慢卷起来,使其重合起来,并用手指抚平内侧,见图77、图78,完成情况见图79(正面效果)、图80(反面效果);
[caption id="attachment_2310" align="alignnone" width="490"]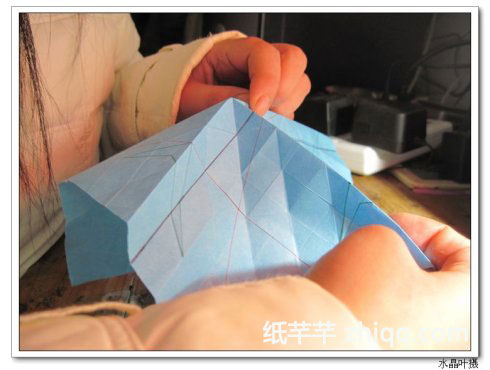
图77[/caption]
[caption id="attachment_2311" align="alignnone" width="490"]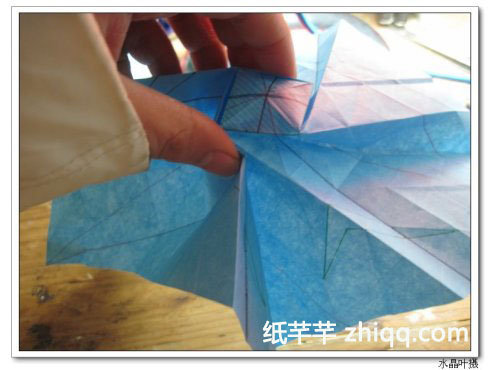
图78[/caption]
[caption id="attachment_2312" align="alignnone" width="490"]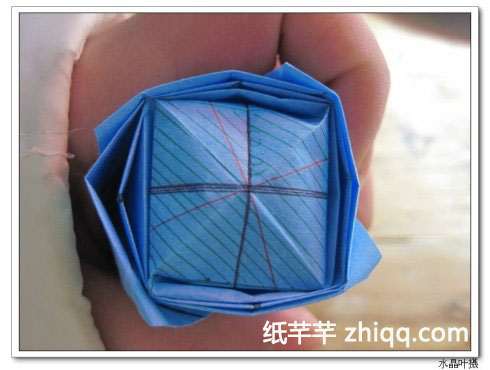
图79[/caption]
[caption id="attachment_2313" align="alignnone" width="490"]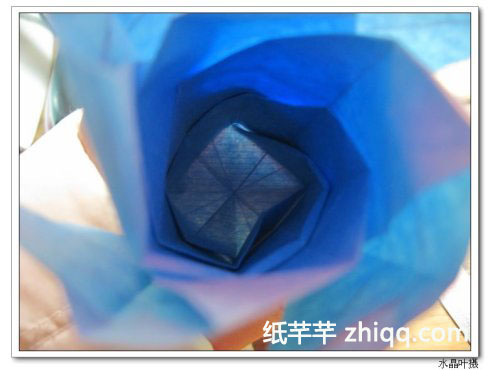
图80[/caption]
第六部分花瓣折痕
步骤26:在每片花瓣上,沿着原第三部分步骤21将不规则四边形按原先折痕折好,见图81、图82,完成后情况见图83、84;
[caption id="attachment_2314" align="alignnone" width="490"]
图81[/caption]
[caption id="attachment_2315" align="alignnone" width="490"]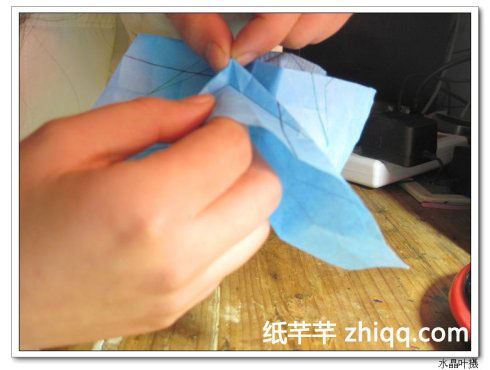
图82[/caption]
[caption id="attachment_2316" align="alignnone" width="490"]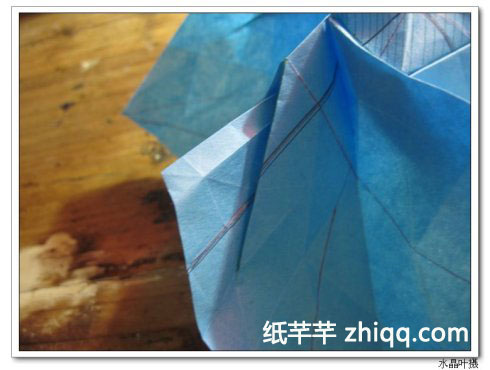
图83[/caption]
[caption id="attachment_2317" align="alignnone" width="490"]
图84[/caption]
步骤27:图85为四个花瓣折痕完成后的情况,然后再将它慢慢卷起来,完成情况见图86;
[caption id="attachment_2318" align="alignnone" width="490"]
图85[/caption]
[caption id="attachment_2319" align="alignnone" width="490"]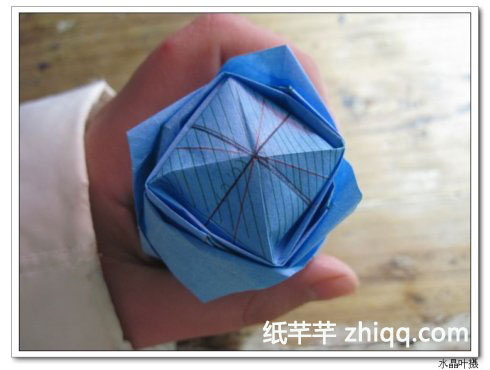
图86[/caption]
第七部分花心
步骤28:将绿色方格中以中点为中心,用指甲将四条黑色标线轻轻下压,见图87,完成后情况见图88、图89;
[caption id="attachment_2320" align="alignnone" width="490"]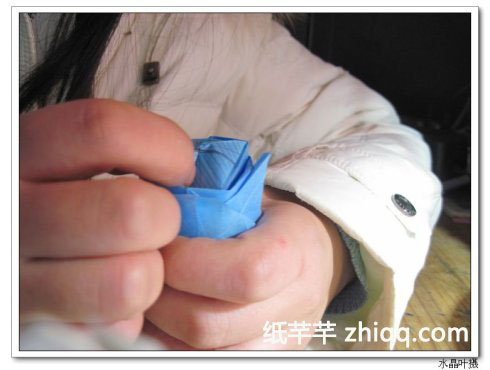
图87[/caption]
[caption id="attachment_2321" align="alignnone" width="490"]
图88[/caption]
[caption id="attachment_2322" align="alignnone" width="490"]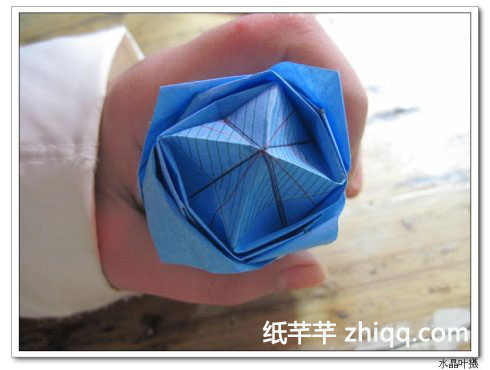
图89[/caption]
步骤29:用右手手指捏住花心部分以顺时针方向旋转一个角度,而捏住花瓣的左手轻轻以逆时针方向旋转一下,使花型看起来圆润些,完成后情况见图91;
[caption id="attachment_2323" align="alignnone" width="490"]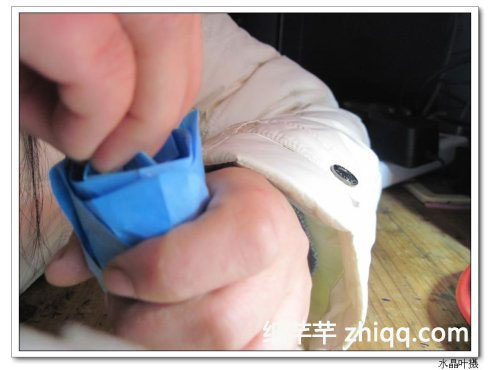
图91[/caption]
[caption id="attachment_2324" align="alignnone" width="490"]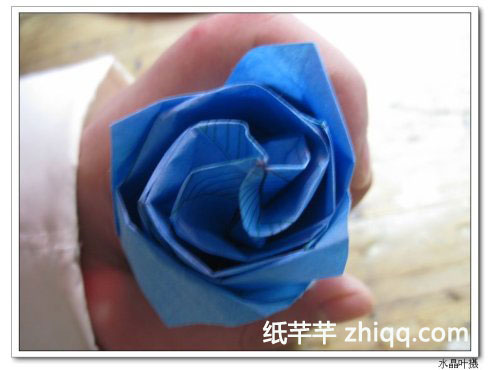
图92[/caption]
[caption id="attachment_2325" align="alignnone" width="455"]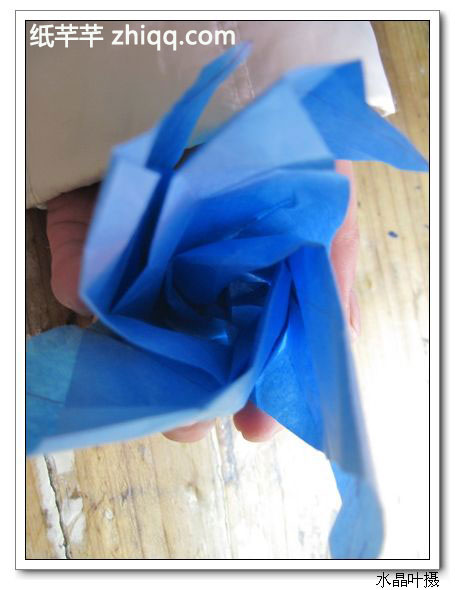
图93[/caption]
第八部分底部封合
步骤30:按图94所示,将侧面朝上,请仔细观察图95的黑色标线,首先将较长黑标线下压翻折,而将短黑标线以轴点向前折转,见图96,完成后情况图97;
[caption id="attachment_2326" align="alignnone" width="490"]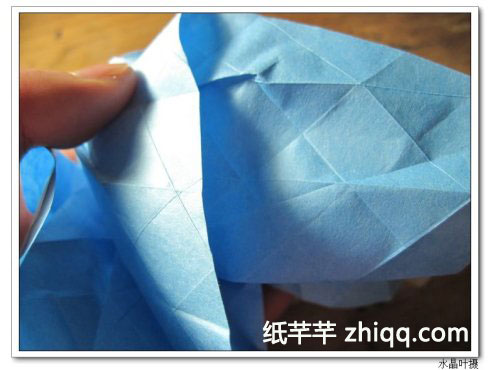
图94[/caption]
[caption id="attachment_2327" align="alignnone" width="490"]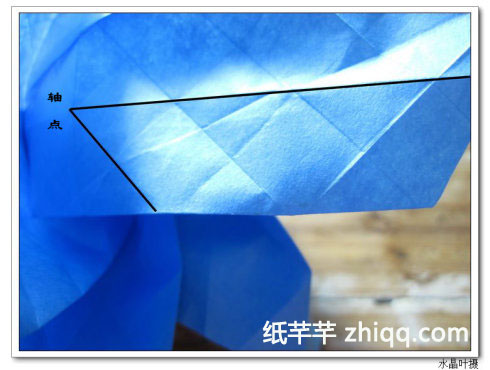
图95[/caption]
[caption id="attachment_2328" align="alignnone" width="490"]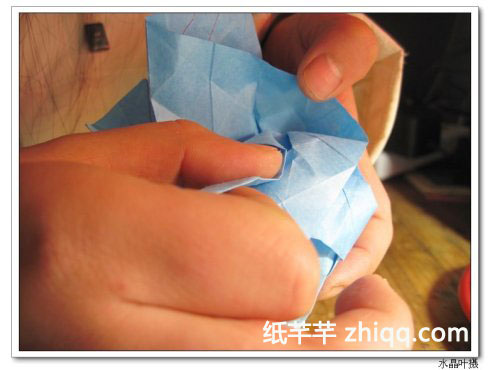
图96[/caption]
[caption id="attachment_2329" align="alignnone" width="490"]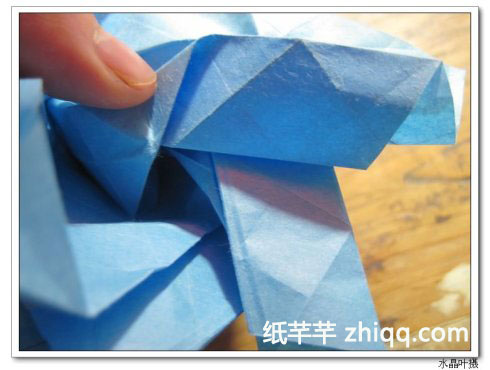
图97[/caption]
步骤31:继续完成其余3个折纸,见图98;
[caption id="attachment_2330" align="alignnone" width="490"]
图98[/caption]
将折纸转至侧面,将多余的部分塞入,四面皆是如此,见图99,图100;
[caption id="attachment_2331" align="alignnone" width="490"]
图99[/caption]
[caption id="attachment_2332" align="alignnone" width="490"]
图100[/caption]
步骤32:将折纸的底部朝上,见图101,将手指放入折纸后面,以轴点为中心,以黑色标线为边线,将折纸往前翻,见图102、图103,完成后情况见图104;
[caption id="attachment_2333" align="alignnone" width="490"]
图101[/caption]
[caption id="attachment_2334" align="alignnone" width="490"]
图102[/caption]
[caption id="attachment_2335" align="alignnone" width="490"]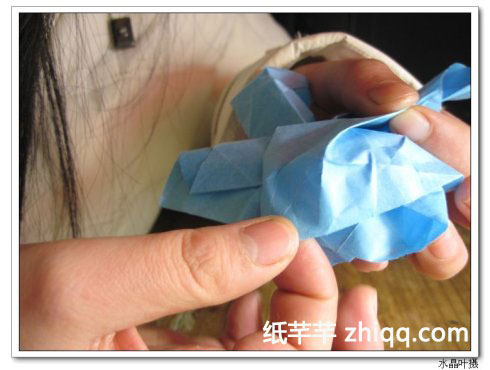
图103[/caption]
[caption id="attachment_2336" align="alignnone" width="490"]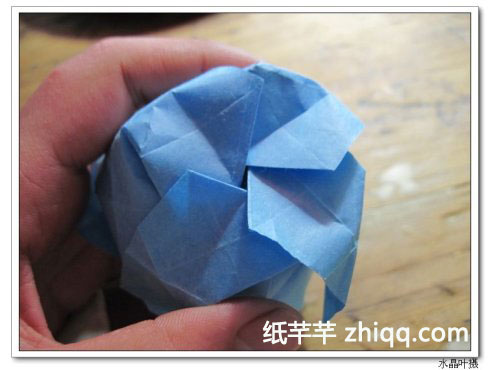
图104[/caption]
第九部分整理
步骤33:将折纸花瓣朝上,用镊子夹住花心部分,轻轻用点力顺时针旋转一下,见图105;
[caption id="attachment_2337" align="alignnone" width="490"]
图105[/caption]
步骤34:将花瓣部分稍稍折一下,这样玫瑰的花型会更美,见图106;
[caption id="attachment_2338" align="alignnone" width="490"]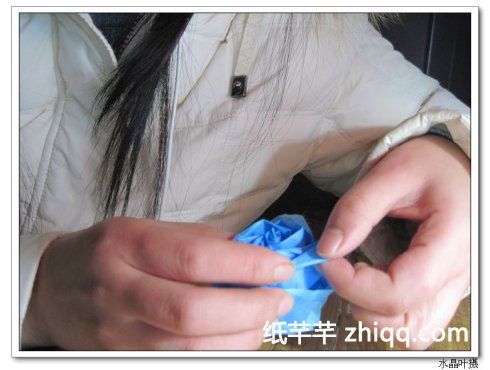
图106[/caption]
最后完成情况,见图107。
[caption id="attachment_2339" align="alignnone" width="490"]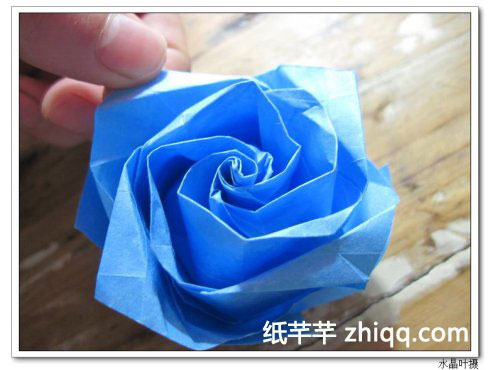
图107[/caption]

手工制作教程,作品版权均属于发布者,
本站不承担任何版权问题,如果我们侵犯了您的利益,
请来信告知(your_mail_username),我们会在第一时间处理!
© 2008-2015 http://demo20.liqinwl.com 京ICP备14001397号-17